

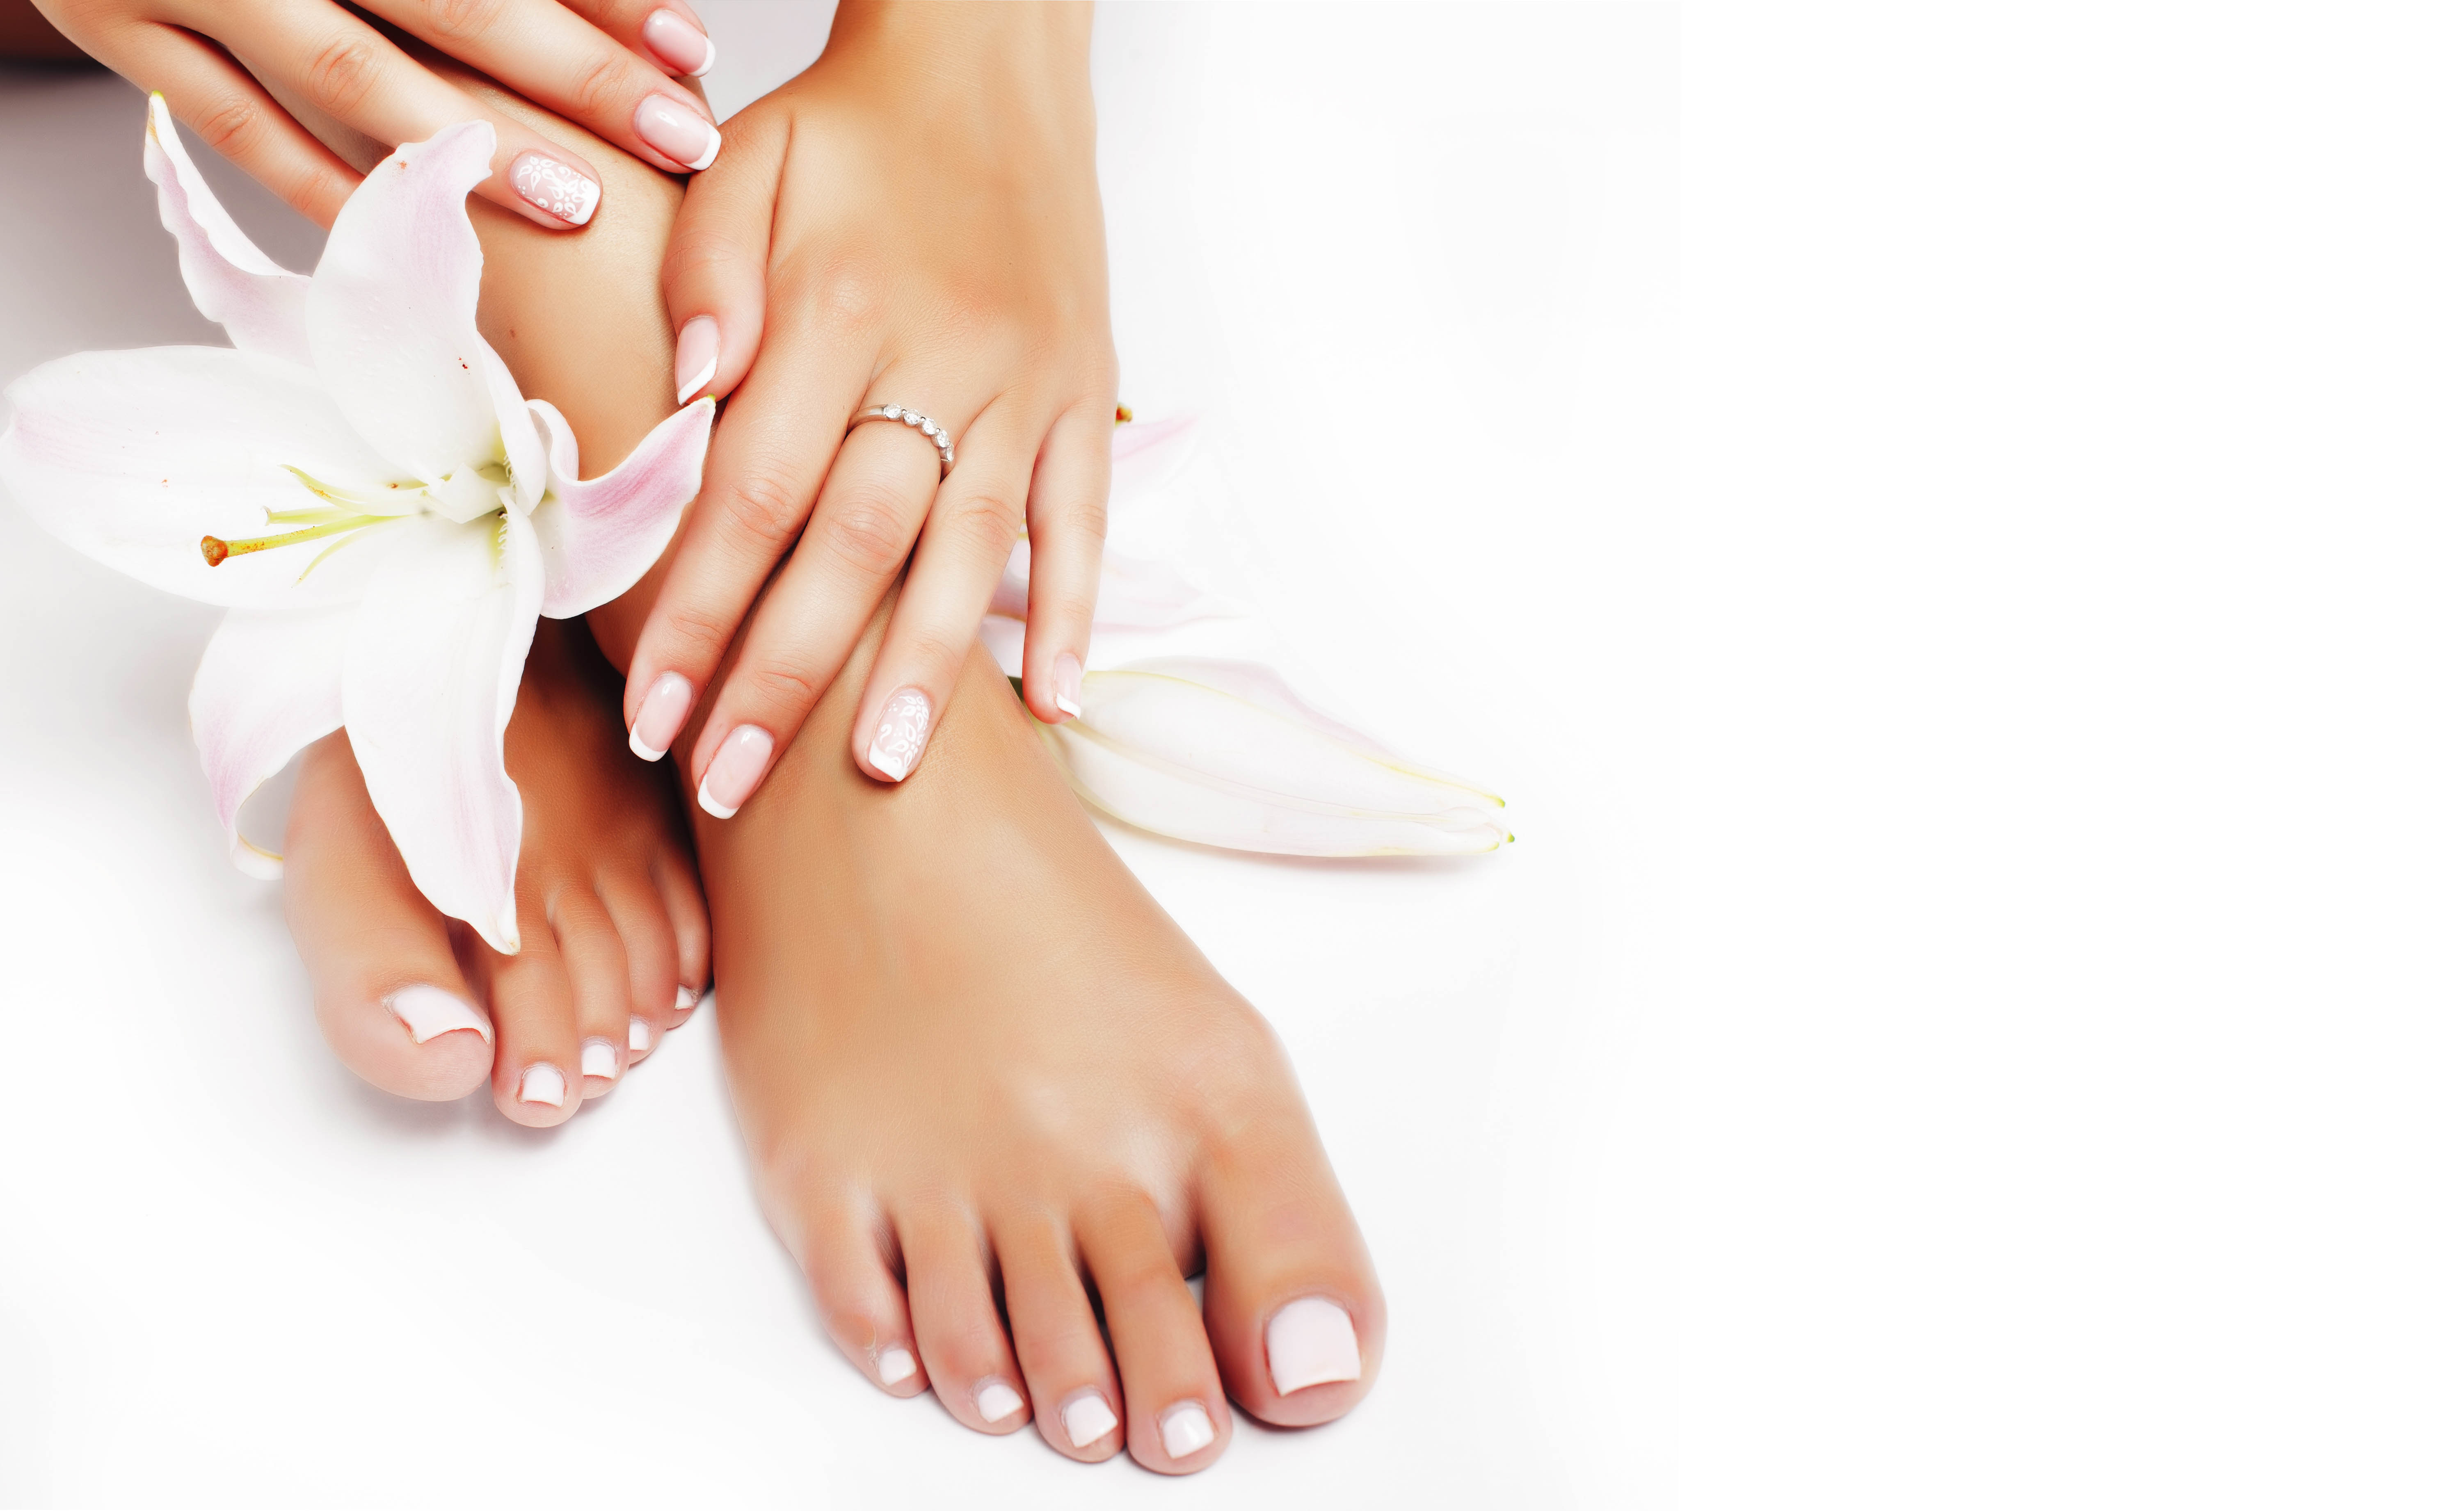
Is it just us or is there something that screams summer when hands and feet are perfectly tanned? Especially when combined with a pop of coral polish or a shiny new pair Havaianas. It screams tropical beach vibes, even if it’s just for a trip to the shops and not a white sand stroll (hey, a girl can daydream!). Hands and feet are notoriously tricky spots to get right when self-tanning but it’s nothing a little practice and a couple of seasoned hacks can’t sort out. Our step-by-step guide to flawlessly tanned hands and feet mean your days of tie-dye tanned knuckles and palms are well behind you!
Step 1: Micro-Exfoliate
Yes, we know, you’ve heard the exfoliate bit a thousand times before, but when it comes to hands and feet you really need to take a couple of minutes to do a more precise job – trust us it’ll pay off no end. Knuckles are where you want to concentrate on and an old soft toothbrush can be just the ticket here, either lathered up with a little shower gel (a pea sized blob is all you need) or if trying to lift off old tan residue then a little toothpaste can work wonders. Follow with a good hand wash using St. Moriz Advanced Pro Exfoliating Skin Primer in the place of hand soap. Salon & dermatologically tested, the small exfoliating beads are specially designed to even out skin surface and create the optimal base for even tan application.
Step 2: Condition Skin
It’s safe to say most of us have a hand moisturiser floating around somewhere in our handbags (or is it just us with bottomless pit handbags?!) so our hands are generally quite a well moisturised, it’s feet that tend to lose out a little here. Our feet are often a neglected area particularly in the winter months, so a little TLC before flip-flop season hits is badly needed. The thing is not all moisturisers are created equally, and as lovely as a scented desk drawer hand cream might be, they often contain oils that work against even tanning and lift pigment. An oil free priming moisturiser such as St. Moriz Advanced Pro Tan Enhancer is rich in Vitamin E for soft, smooth skin but contains no oils, so perfect for creating an even canvas. Concentrate on knuckles and heels here, as they’re naturally drier.
Step 3: Protect Palms
One of the most dreaded fake tan mishaps are deeply darkened palm. Palms can be a particular problem area if you choose not to use a tanning mitt. (Big Mistake!) Tanning mitts are cost effective way of protecting the palms and can be chucked in the washing machine for a clean-up to maximise their value. Vaseline also acts as a super effective (not to mention cost-effective) barrier cream for palms. Apply an even coating to palms before tan application and wipe, not wash, away afterwards. Don’t forget to pay particular attention to in-between the fingers and on fingertips – two minutes well spent!
Step 4: Use a Makeup Brush
Now we’re not talking your favourite natural hair bronzing brush, but by all means invest in a synthetic hair flat-head brush for tan application on hands and feet. Synthetic brushes are generally that little bit cheaper, and don’t have a cuticle which means they’re perfect for applying self-tan products. The beauty of using a makeup brush for hand and feet tan application is you’ve much more control over this smaller area. Pump a tiny amount of an easily blendable self-tanner, such as St Moriz Advanced Pro 5-in-1 Tanning Mousse onto your brush and buff in circular motions to a seamless coverage, which is exactly what we’re after. And there you have it, a few minutes prep and a tweaked application technique gives flawlessly tanned hands and feet, ready for that tropical beach stroll – or Saturday morning corner shop run..